The Mastery Guide to Basic Nymphing
The essential resource to get you catching more fish on nymphs
Join Our List for More Premium Content
How to be Successful at Nymph Fishing
 It is often said that trout feed subsurface for 90% of their diet. This means if you don’t have some basic nymph fishing in your arsenal of fly fishing skills, you’re missing out on catching more fish. Dry fly purists and streamer junkies have their place, but fish are almost always more willing to take a nymph in most circumstances. We are going to teach you the essential information you need to start nymphing or take your skill to a successful level.
Here’s the good news
Basic nymphing with an indicator is the easiest way to present a fly in most rivers and beginners can learn it quickly and get success more often. Whether you are just starting out, or you are able to nymph fish with success but want to improve your game, it’s all within your reach.
The other good news is nymphing produces a lot of fish when you are dialed in to the right presentation, flies, and location. It also produces some of the largest fish caught in nearly all rivers every year. Learning to nymph when fly fishing is an incredibly valuable skill.
What this mastery guide teaches
We are going to take a incredibly simple and practical approach to teach you how to catch more fish anywhere you fly fish with nymphs. We will cover:
- How to set up your rod and flies for nymphing
- How to cast nymphs and manage your drift
- How to set the hook and land a fish
We’ll also share some great tips from experts and guides that will help your learning curve substantially. Let’s dive in and learn what it takes to catch more fish when fly fishing with nymphs.
How to Set Up a Fly Rod for Nymph Fishing
The Standard Indicator Setup
Your Rod, Reel, Line
 There are a ton of fly rods, reels and lines out there and most can have their place when nymphing in the right situation. However, the best overall set up that will prepare you for most scenarios across most rivers is a 9ft 6wt fly rod with a WF (weight forward) floating line and a reel that matches the weight of the fly rod.
A 4wt or 5wt fly rod is great as well if you fish smaller rivers. I personally fish a 4wt on any river that I wade. If I drift/float the river, I’ll cast a 6wt as it’s typically a big enough river to warrant the extra casting strength.
Strike Indicators
 ;
;
Using a strike indicator of any kind is an excellent way to catch fish and is often easier for beginners. People talk down to it and call it bobber fishing, but it has more uses than just detecting a strike. Most importantly, indicators can regulate depth of your flies so you can fish in the strike zone (where the fish eat) consistently as you drift your flies.
Strike indicators can be broken down into a few key categories and their benefits are listed below:
- Yarn Indicators: Subtle & sensitive
- Plastic Indicators: High-floating & low-maintenance
- Cork Indicators: High-floating & easy to adjust
- Foam Indicators: Sensitive & easy to adjust
- DIY Indicators: Can be tailored to meet your local, specific needs
Most anglers have a personal preference and all have benefit in the right situation. I personally fish two indicators. I fish Thingamabobbers and I fish NZ Strike Indicators. These are both excellent for their uses. Thingamabobbers come in a variety of sizes but float high and are low maintenance and easy to use. NZ strike indicators take a little more set up but are the most sensitive, high-floating yarn indicator on the market and is well worth the price and a place in your gear.
Once you have chosen a strike indicator, you’ll simply want to place it on your leader above your flies. We’ll get into the details of this below.
Leader & Tippet Setup

Fly leader is the monofilament, flourocarbon or furled leader that attaches to your fly line. This usually comes in a 7.5ft – 12ft length and tapers from the top down to 3x, 4x, 5x or 6x strength. 6x is only able to withstand 3.4lbs of pressure before it breaks so it gets pretty small. Flourocarbon sinks faster and is more abrasion resistant, it also costs 3x more than monofilament. Monofilament is cheaper of course sinks slower and is more likely to be cut and break when damaged. If you’re serious and have the money, flourocarbon is a worthwhile investment, but you can certainly get away with monofilament if needed.
Furled leaders add some nice distance to your cast and hold up really well and can be an excellent option for nymphing. It comes down to personal preference and what you can afford with leader.
Choosing the right leader and tippet will mostly depend on the pressure the trout receive. The more pressured the river, the lighter the leader and tippet you can use. The other variable to consider when selecting leader and tippet for nymph fishing is the sink rate. The lighter the line, the easier it will fish and the more natural the drift will be. This is also why lighter tippet works better on pressured water. Select the right leader and tippet based on your location, season, and what the locals are using/recommending.
Nymphing Fly Selection
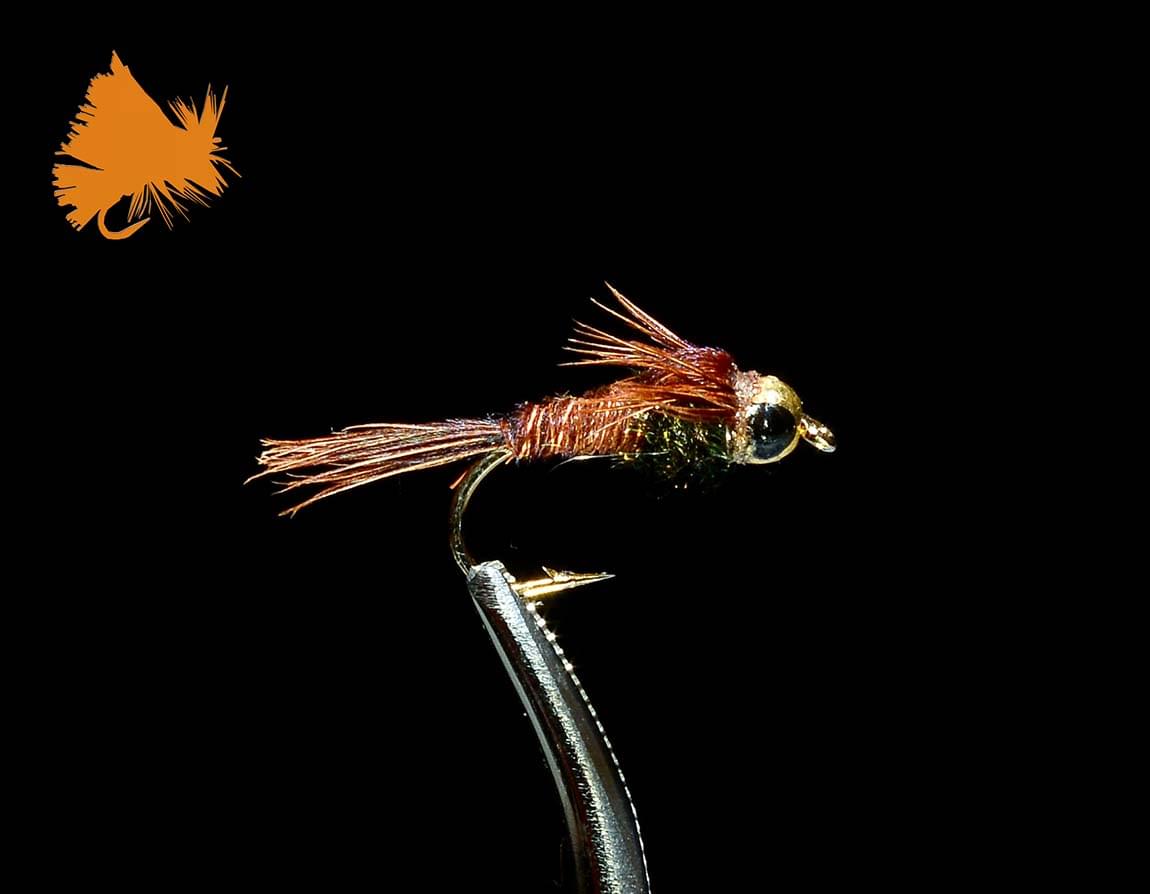
- BH Pheasant Tail
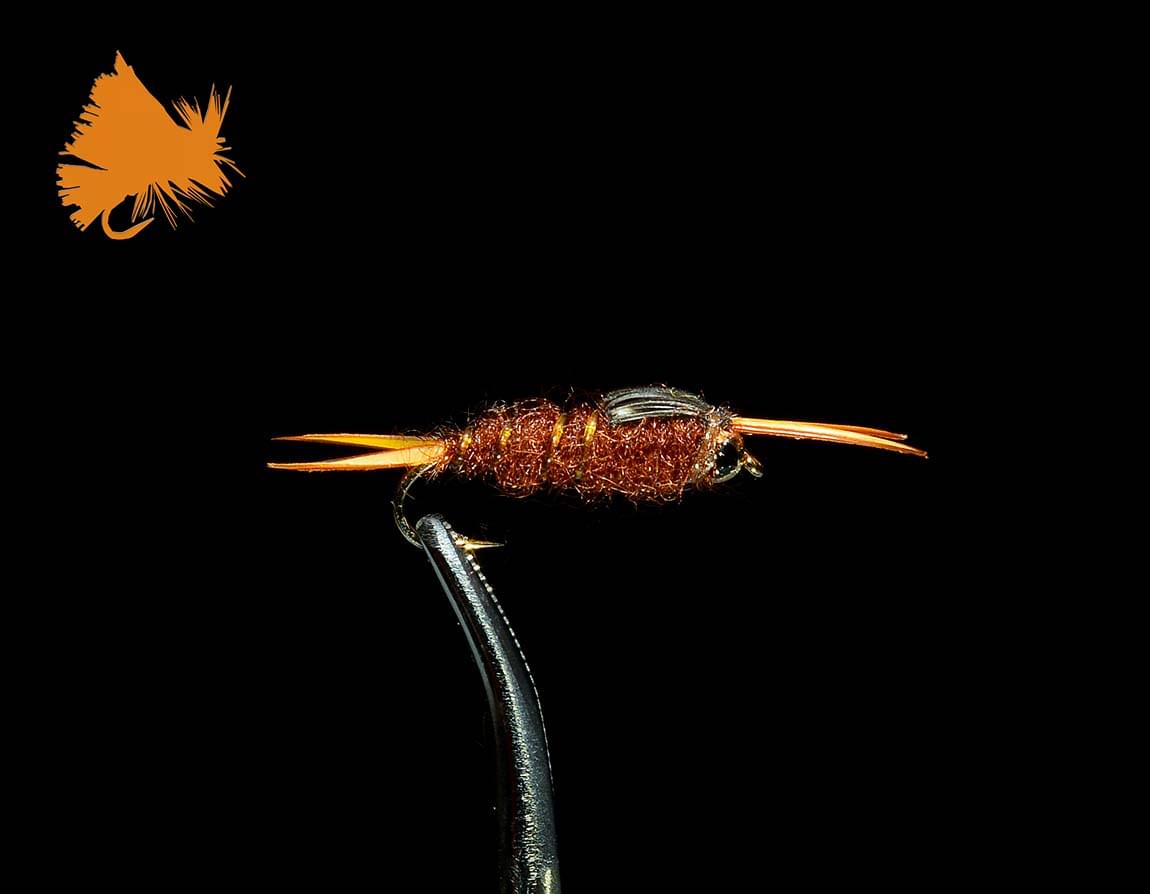
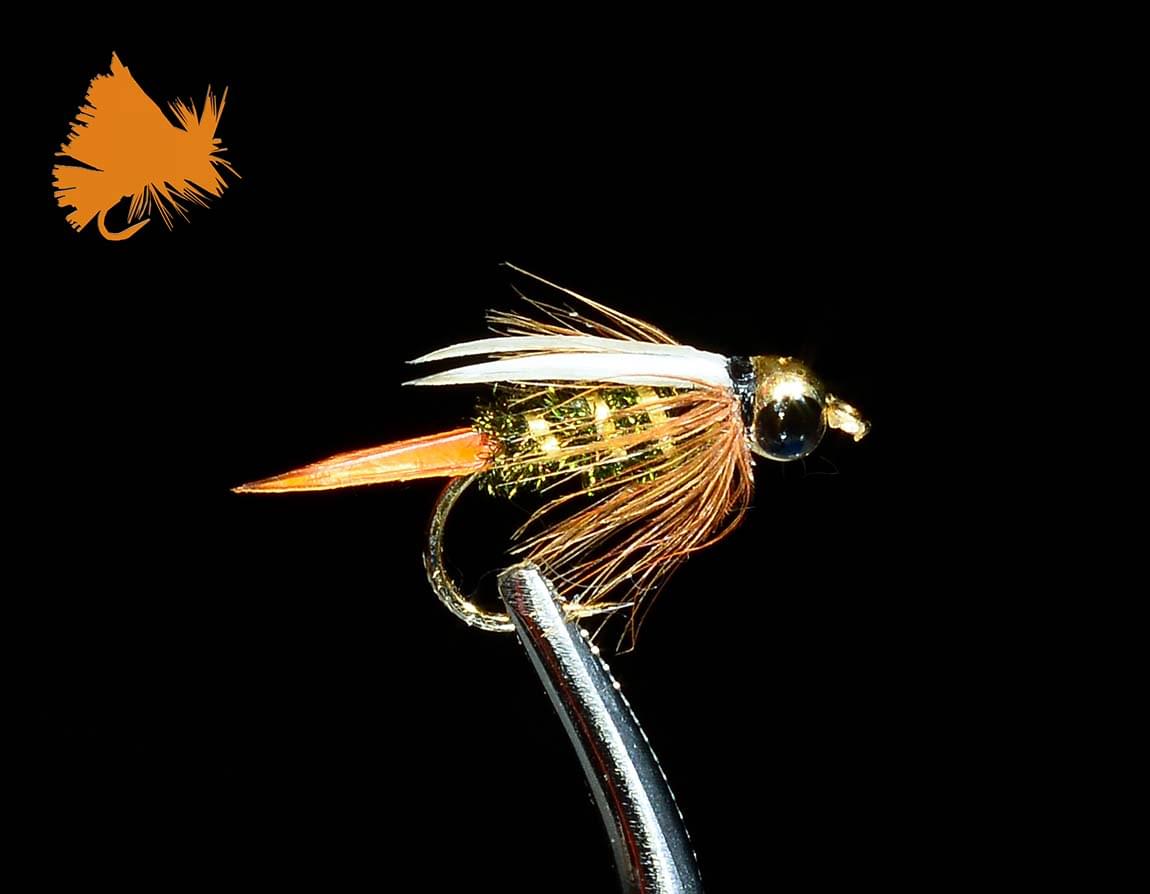
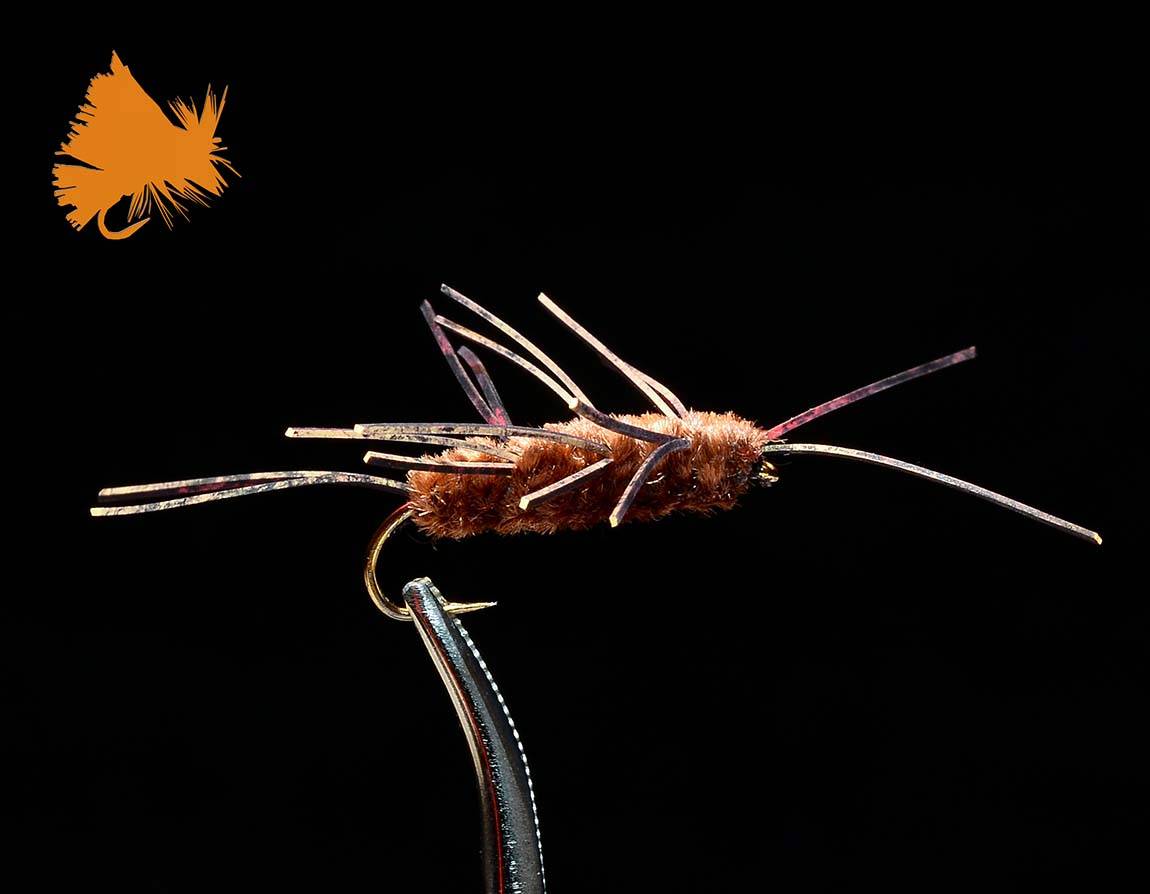
Nymphs are simply flies that are meant to be fished below the waters surface. There are way too many nymphs to choose from these days and for a novice, the choices are often overwhelming. The good news is most of them work pretty well if you use them during the right times of year in the right regions. Fish are more willing to eat nymphs so use them with confidence. Nymphs come in a few categories that are helpful to understand so you can properly select a nymph for the waters you fish.
- Imitative Patterns: These are nymph flies that imitate an exact insect category, midges, mayflies, caddis etc. They are usually more “natural” looking than other patterns.
- Impressionistic Patterns: Impressionistic patterns imitate a couple of insects or stages at a time with good accuracy without sacrificing versatility.
- Attractor Patterns: These are nymphs that look nothing like what’s in the water. Often these come in red, purple, yellow etc and contain a lot of flashy materials. These will attract trout’s attention causing them to eat it or select the imitative pattern nearby.
- Search Patterns: These are nymphs that are more imitative in nature, but imitate a variety of insects. A Hares ear nymph, for example looks like a caddis, stonefly, mayfly and even scuds or sowbugs in the right sizes or colors. These are great to throw when you aren’t sure what’s working to get a closer idea to what trout are eating on the stretch of the river.
If you check out our fly shop section on our site, our flies on their individual pages will describe what they best imitate and sizes and colors that are recommended to fish. This is a free resource you can use to learn your flies in your box and what they imitate.
Up your fly selection game
If you really want to take your fly fishing to the next level, a good understanding of fly fishing entomology (the process of identifying insects on the river and matching them to a fly in your box) is what seperates the average fishermen from the pros. We have put together a 110+ page online fly fishing course that includes video, diagrams, charts and more to help you understand everything you need about fly fishing entomology. You can check it out here.
Top Nymphing Flies
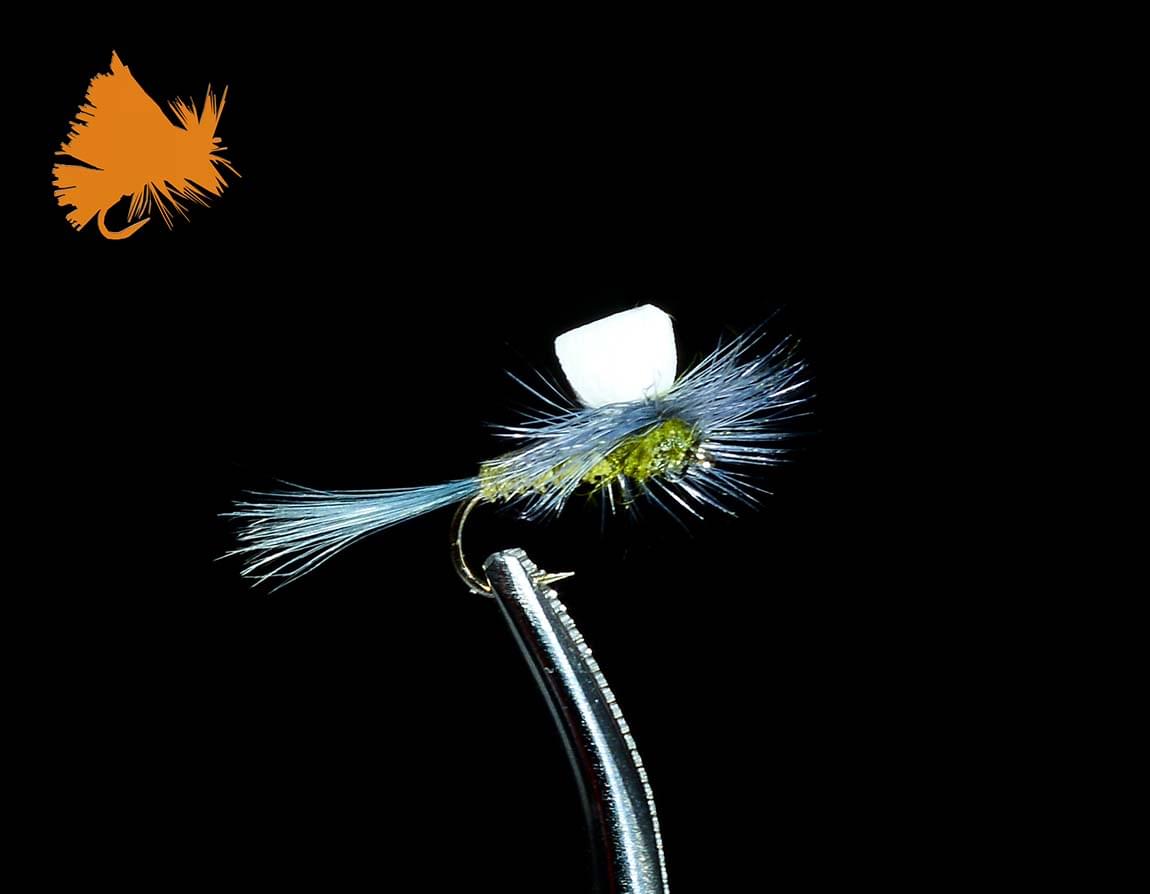
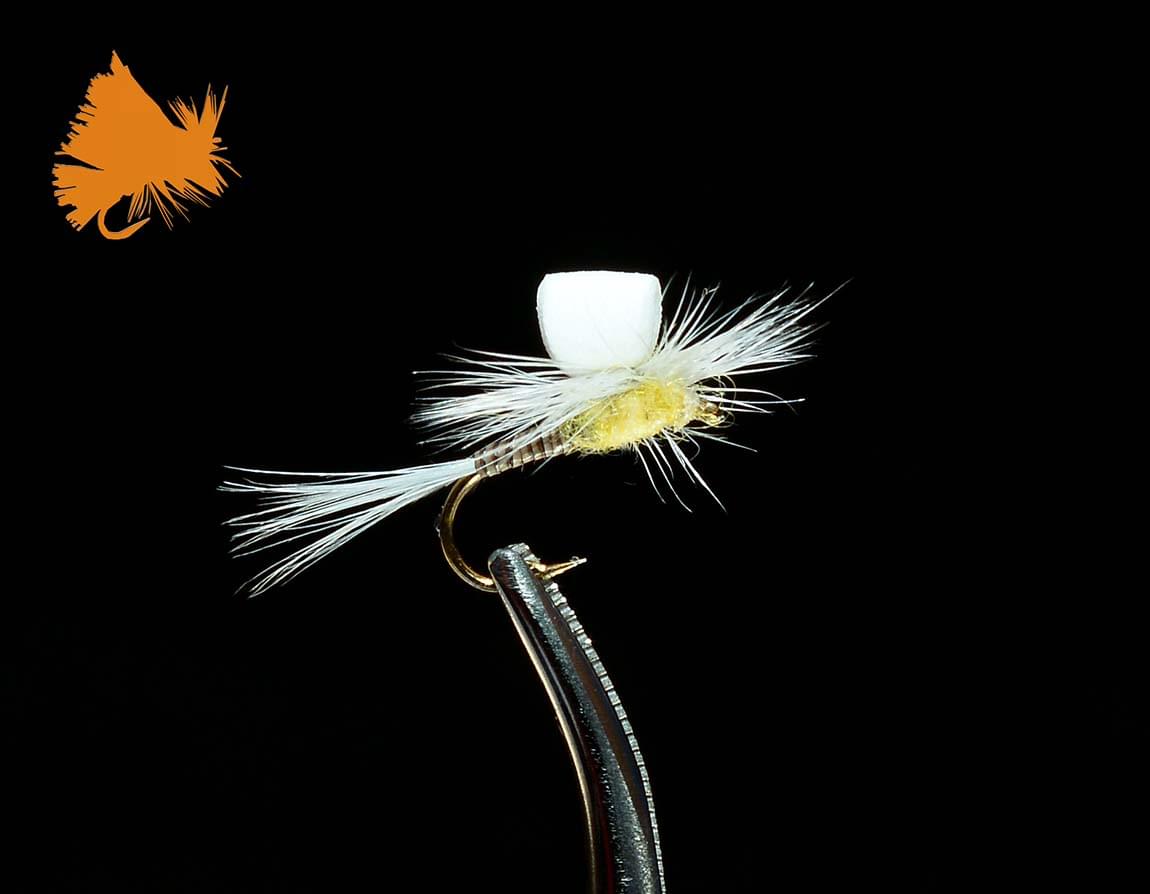
Here is a list of some of the top flies that work on most trout rivers including color and size suggestions and what they imitate.
Split Shot


Split shot is a weight you add to your nymph rig to get the flies down deep faster. It’s an essential part to basic nymphing and unless you are fishing water less than 1ft deep, it is almost always recommended.
“The difference between a poor angler and a great angler is one splitshot.”
This holds true. There are many different kinds of split shot as well and all work well.
My only advice for purchasing split shot and adding it to your rig is use as little as possible and add more as needed. Adding too much too quickly produces an unnatural drift as the flies are yanked to the bottom too quickly. Based the amount of split shot you need, you can purchase small, medium and large packages. I like the super doux split shot containers that have multiple sizes.
To attach split shot to your leader or tippet, you’ll want some pliers or forceps. Simply pinch the split shot onto the leader or tippet. You’ll want to put it above a knot like a double blood or triple surgeons, as split shot has a tendency to slip along the tapered leader and tippet.
Putting it All Together
We’ve discussed rod, reel, line, indicators, flies, leader, tippet and split shot which covers the basic set up for beginner indicator nymph fishing. The question is how do we put it all together in a set up that will catch us fish?
While there are many different set ups for making a nymph rig, we will discuss the primary method for success that is most common among anglers.
From the top of your leader (where it connects to your fly line) down to your last fly, we typically recommend the following set ups based on the typical water depths and water speed you’ll fish:
Shallow Water Set Up || Less Than 2ft
7.5ft 3x Leader || 4x & 5x Tippet || 2 – Fly Set up no split shot
- Leader Setup: 7.5ft 3x leader
- Indicator: Thingamabobber or NZ Strike Indicator based on the water conditions
- Split Shot: None
- Tippet: from the 3x leader, tie 8-12 inches of 4x onto your leader.
- First Fly: at the end of the 4x tippet, attach your first nymph. Beadhead nymph preferred.
- 5x Tippet: on the hook bend or the eye of the hook from your first fly, tie 12 inches of 5x tippet onto your 1st fly.
- Second Fly: at the end of the 5x tippet, attach the last fly, beadhead optional based on water speed.
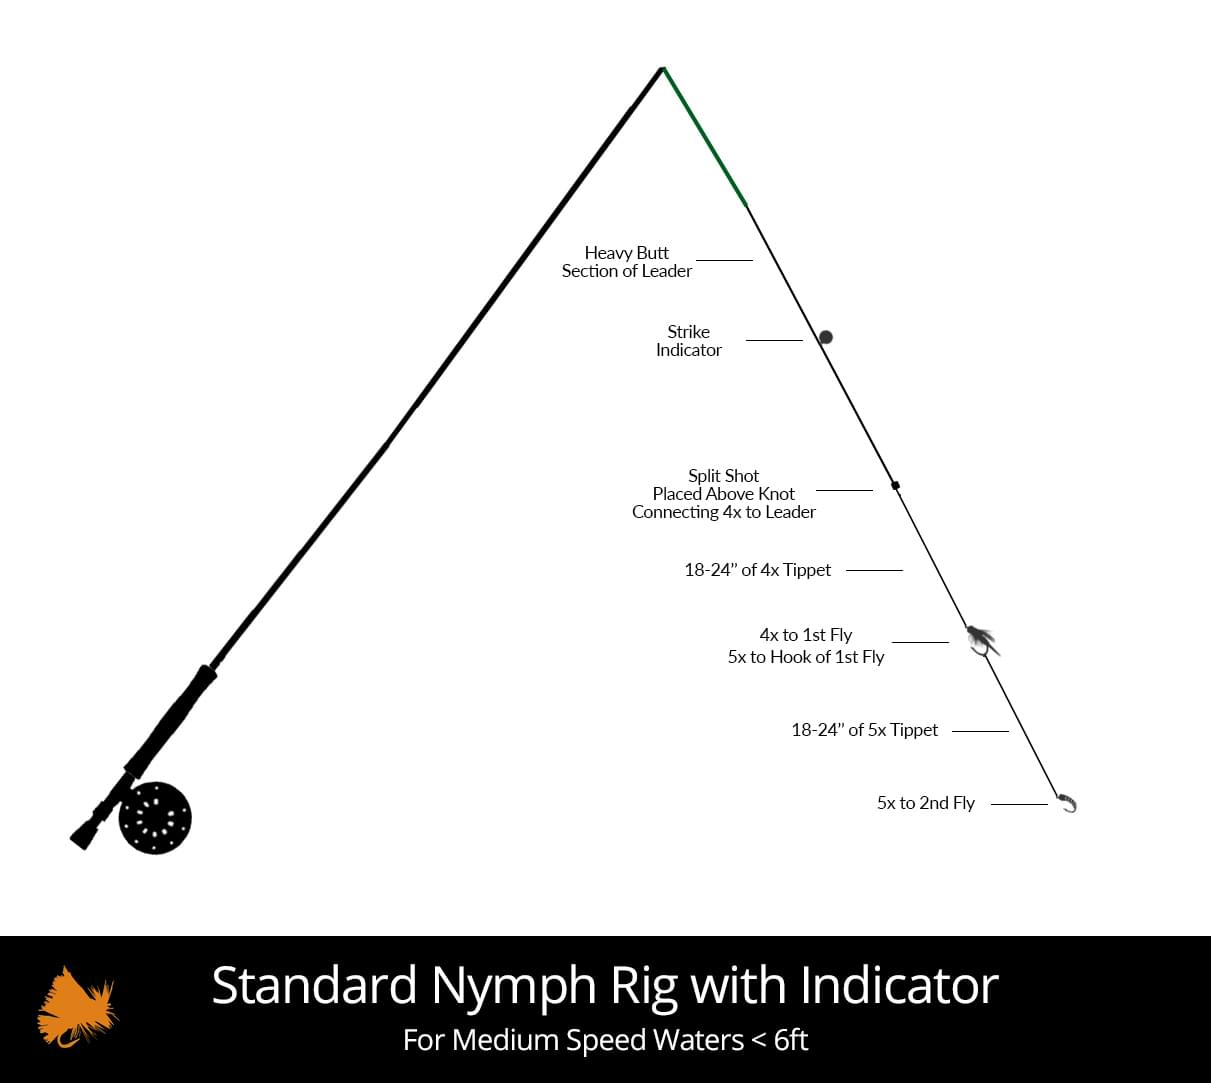
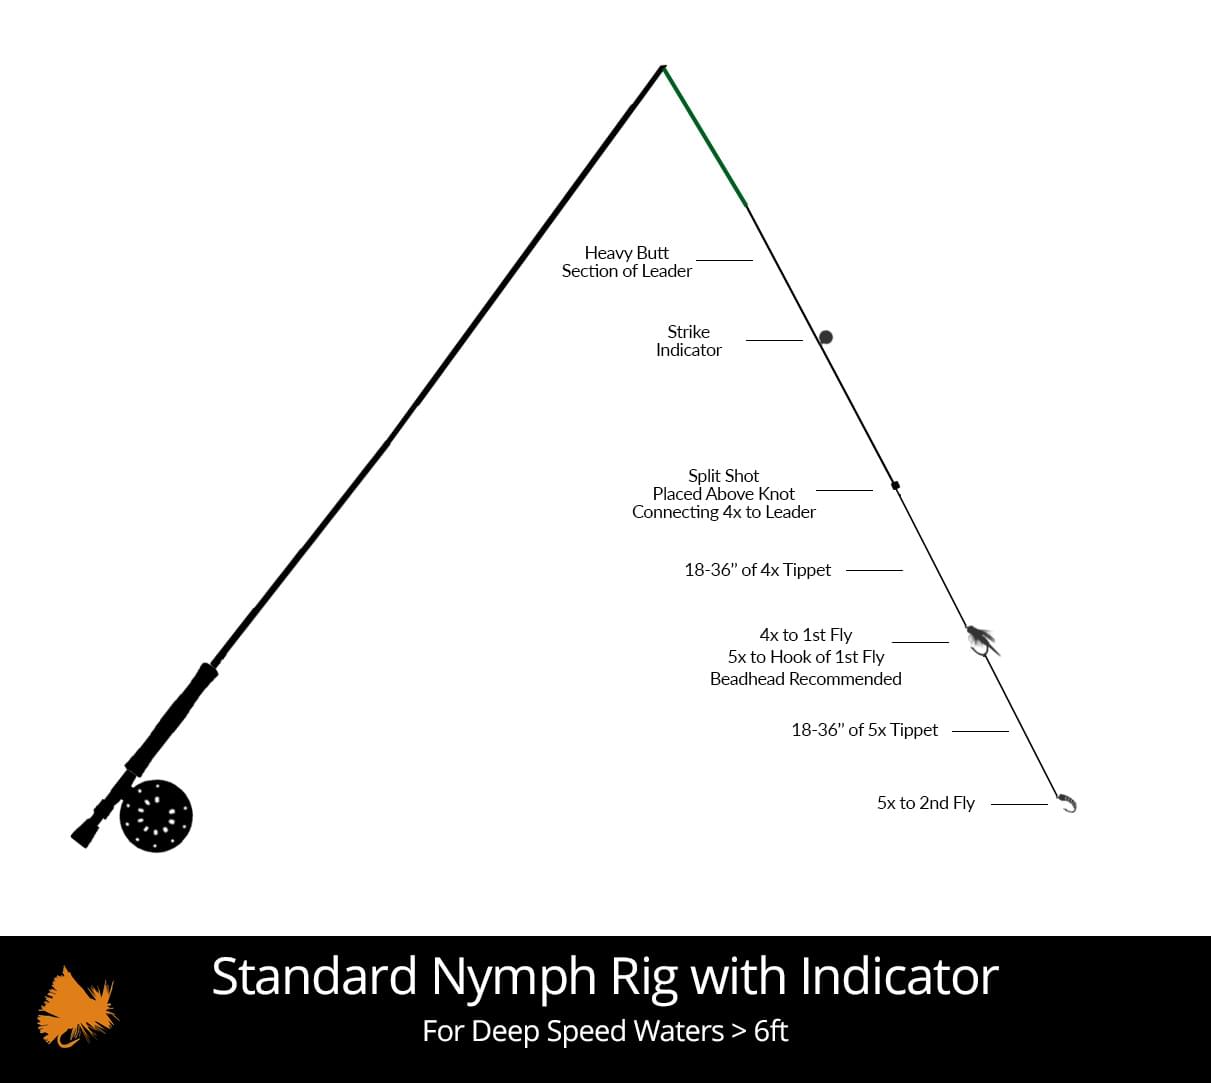
Nymph Rig Diagrams (click to enlarge)
- Shallow Water Setup
- Medium Water Setup
- Deep Water Setup
Rule of Depth
You have to consider depth and water speed when deciding the depth at which to fish a nymph rig. Here is a good guide to go by:
- Slow Water Speed: 1.25 x Water Depth = Depth from Indicator to Last Fly
- Medium Water Speed: 1.5 x Water Depth = Depth from indicator to Last Fly
- Fast Water Speed: 3 x Water Depth = Depth from Indicator to Last Fly
This means that if you are fishing fast riffles that are maybe 1ft deep, you’ll still be using 3ft of depth from your indicator down to your fly.
These are the set ups we use most places. It allows you to regulate your depth up to 8ft deep, and as shallow as 3ft which is pretty normal for most trout rivers. If you fish deeper or faster waters, you may want to extend this. Here is a diagram to help show the set up as you make your rig.
Like What You’re Reading? Join our list for more premium content (It’s Free)
How to Cast Nymphs & Manage Your Drift
90% of your success comes from a good drift
2 Incredibly Simple Casting Techniques
Fishing with nymphs is not like casting a fly rod like you’re in a river runs through it. You have a substantial amount of weight on you line and several other complications that if not treated with respect, will leave you spending over half your day untangling knots in your line and re-tying your set up. While this is good practice at rigging, we clearly want to be catching more fish than tying flies.
We’re going to show you 2 very simple casting techniques that will help you nymph a run, hole or riffle with success.
The Roll Cast
The roll cast is a technique that allows you to only do half of a cast, elminating most of the risk of your line getting tangled. The steps are fairly simple and we’ve included a great video to watch and better understand the roll cast.
As you can see the roll cast is a powerful cast that is simple and easy to execute with practice. As the video states, learn it on a grass field and you’ll quickly learn the right muscle memory to execute this technique on the water.
The Water Load
If D-loops are too much for you to handle, we have an even simpler cast. It’s called the water load. All we do here is let the water do the work for us and we make one cast forward. Let your line and nymph rig float downstream till all the line is straightened out. Then lift your rod up slowly to about 1’oClock. This breaks the water tension of the line and gets your flies up towards the surface. Once you reach 1’oClock, look upstream and make a forward cast sending your line up to the top of the drift.
This is all that is needed to send the fly line and rig forward and repeat the same cast and is an easy and effective way to catch fish.
The key is to break the water tension and only cast as much fly line as you can manage. If you aren’t getting the desired results, you likely have too much line out or you aren’t getting enough line out of the water i.e breaking the water tension.
Practice makes perfect on all casting techniques so start with less line and improve as you master the techniques.
The Drift
The drift is quite possibly the most important part of your presentation and will bring you the most success when you master it. The drift begins once your cast ends and your drift ends when your cast begins. This is where all the action happens. Let’s dive into how to get a drift that catches fish.
Drag Free Drift
The drag free drift is a term you’ll hear a lot around nymph fishing. If you don’t manage your drift well, you’ll drag your flies through the water faster or slower than the natural flow of the river. This is a dead giveaway to trout that the drift is not natural and they shouldn’t eat it. The key to creating a drag free drift is:
- Starting with the Right Cast: If you don’t land it in the right spot on the river you’re just not set up for success. Pay attention to different currents in the river and reading the water successfully in order to cast where you can get a good drift.
- The Mend: This is the technique we’ll discuss in a minute that keeps your line from dragging the nymphs unnaturally through the water.
- Reading the Water: Though there are many tips that go into reading the water the best two are to pay attention to transitions and follow the foam. We’ll touch on these later in our tips section.
The Mend
Reading the water is key to getting the right drift. Often on the surface of the river, you’ll have multiple currents. When you have a faster current next to a slower current and your line is resting on both currents, you’ll need to manage your line during your drift with a mend to make sure the line moves down the river without creating drag. Pay attention to these differences in the water current as it’s where a mend is likely necessary to get a good drift, and water that is transitional like that is often where trout feed.
While there are several different kinds of mend, they all refer to the concept of adjusting the line after the cast has been completed. Let’s look at a quick video to see how to mend, then we’ll touch on the key tips for mending successfully.
Now this video shows a mend for dry fly, but the technique is the same and in fact, more forgiving with nymphs. You can mend upstream or downstream based on the water current. You can even do both within the same drift if the current calls for it. Remember, all you’re doing is making sure your strike indicator doesn’t drag. If that floats without moving, your flies are likely floating naturally under the water ready to be eaten by trout.
Tips for a Good Mend
The keys to a good mend are to do it as little as possible and mend enough the first time to get a full drift. If you mend 10 times in a drift when wade fishing, you’re mending too much. Do it right the first time or adjust your physical position in the river to get through your drift with 1 or 2 mends max.
Another good tip to making a good mend is don’t let your indicator move. If you during your mend, you drag your indicator, you’re mending too strongly. Often, just lifting up the fly line and then moving your arm up or down stream is enough to create a successful mend. It only takes 1 good cast to hook a fish, so make every drift count and be ready.
Highsticking
This is a good time to bring up another technique to improve your drift. If you’re close enough to where you are drifting your flies (which often times you are) then you can use a method called highsticking which eliminates the need for mending all together. Your goal when highsticking is to keep as much line out of the water as possible and to keep your fly rod directly over your indicator. Follow your indicator with the tip of your fly rod and keep as little line out of the water and you’ll create a very natural drift that will catch you fish.
How to Set the Hook & Land the Fish
This is the Most Important Part!
Setting the Hook!
Sweet goodness, I can’t tell you how frustrated I get when I teach people how to nymph and after doing everything right and the fish eats and the indicator moves, they just sit there like the fish is going to hook itself and jump into the net all on its own. Let’s learn when and how to SET THE HOOK! so you can get some fruit for all your hard nymphing labor.
How to Set the Hook
You should be setting the hook anytime your strike indicator moves in an unnatural way. This could be it going under water, it stopping, it twitching, or even if you just feel like it should be moving. To set the hook, quickly lift up the rod as if you’re going to make a cast. No harder or softer than what you would do to make another cast. If a fish is on, then the line will tighten up and you’ll be off to the races. If you missed the fish or there was no fish you’re line will shoot out of the water just like a normal cast, and you’ll just cast forward and let it land in the water and continue fishing. Set the hook like you would make a cast and you’ll be ready for both scenarios.
Tips for Setting the Hook
There are No Rocks in the River
This is a good phrase to remember. Often, beginners will think they just hit bottom or got snagged. It’s certainly possible to hit bottom or get snagged, but you will never know the difference between a bump on the bottom and the bump of a fish. For this reason, tell yourself there are no rocks in the river and anytime that indicator moves, set the hook. You’ll be amazed how few rocks you catch and how many trout you actually catch.
Hook sets are Free
This is another good tip to consider. If you set the hook like you do a cast and miss, you just recast in the same movement. You won’t often spook the fish setting the hook unless its slow or shallow water and even then it’s not that likely to scare them. Set the hook often. I almost always set the hook at the end of my drift. This is for two reasons. First, if it doesn’t catch a fish, I remove a lot of surface tension from my line allowing me to make my next cast easier. Second, you’ll be amazed how many fish have eaten your fly and your indicator didn’t move. This will help catch some of those fish.
Landing the Fish
Once you have a fish on the line, make sure to keep as much line out of the water (like highsticking) and keep constant tension on your line. Too much line in the water or slack line will allow the fish to shake the hook free and you’ll miss the fish. When the fish is close enough and enough line is in, you can get your landing net out and raise your rod tip up as high as possible and begin to point it behind you. This will bring the fish into your reach and you can net it carefully. Once netted, you can release tension on the line and unhook the fish in the net and release it calmly upstream. Keep the fish in the water as much as possible and don’t touch the fish more than you have to. If you do touch the fish always make sure your hands are wet first. To learn more about proper catch & release techniques check out our free course.
Some Sweet Tips on Nymphing
Tips I wish I’d Known When I Started Nymphing
Rivers are Dynamic – Fish Accordingly
Rivers are always changing and as you move from spot to spot, there are different water speeds, depths, insects, fish behavior and more. On top of all that, there are weather conditions, seasons, your physical location in the river, hatches of insects and more that are always changing. In a dynamic environment like this don’t be the guy that never adjusts his rig, or fishes the same flies all day without success, or never leaves the first hole he gets to when fishing. Move around, adjust your depths, split shot, flies and indicators to best suit the environment. With this mastery guide we’ve created you have the basics to be able to know when and how to change your presentation based on the surroundings. Imitate your environment and be dynamic.
Perfect the Drift
A good cast is helpful, good fly selection is essential, but a good drift is critical. The best flies dragged haphazardly through the water after a perfectly aimed cast will catch 0 fish. If you golf, you’ve no doubt heard the phrase, “drive for show, putt for dough.” Well in fly fishing, the drift is where the dough is made and where you make or break your success. Be intentional about creating a good drift every time. Take breaks if you’re tired or need to refocus, but don’t get lazy. Perfect drifts, every time.
You Only Need One Cast to Catch a Fish
This is important to understand. We aren’t swinging for steelhead, fish famed for being the fish of a thousand casts. Most times when fishing for trout using nymphs, you’ll find that they are actively feeding and as long as you have a good looking fly and it’s put naturally in front of them, you’ll get a strike. A lot can go wrong between the set up to the hookset though, so work on making everything perfect. As you start out, there’s tons you’ll do wrong and that’s ok. Pick one thing you’re going to perfect for the next 10 minutes and dedicate all your focus to perfecting it. Whether it’s the mend or the location of your cast, or a drag free drift or a hookset or even a combination of those, find something to perfect because you only need one cast to catch a fish.
Conclusion
With the tips and techniques shown and provided above you now have a great understanding of how to nymph fly fish and catch fish consistently anywhere you go. Practice these techniques and bookmark this page and refer to it often. Though this info is a little more in-depth than just a basic guide to nymph fishing, it really only touches the surface enough for beginners and intermediates to take and apply this knowledge on the river and catch more fish. This is intentional as we don’t want to overwhelm you until you have the basics down.
Join Our List for More Premium Content

