LESSON 1
The benefits of euro nymphing
SECTION GOAL
“Learn the WHY behind this crazy effective technique.”
Introduction
European Nymphing is effective. No, it’s deadly effective. Hmm, that’s still an understatement. Let’s put it this way: before I learned to euro nymph, the most fish I ever caught in a full day on my local river was plus or minus 30 fish. Now, on the same river using the same flies, I can catch 30 fish in a matter of a few hours: behold the power of euro nymphing. And no, before you ask, there was not a sudden surge in fish population nor a complete reduction in angling pressure. It is just the way of euro nymphing.
So why do we see this exponential growth in caught fish? What sparks the change? To fully answer this question, we first need to understand the disadvantages of traditional, suspension, nymphing.
But, before you get started check out the Lesson 1 game-plan:
SUSPENSION NYMPHING
AND THE 7 SURPRISING DISADVANTAGES

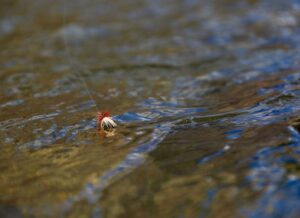
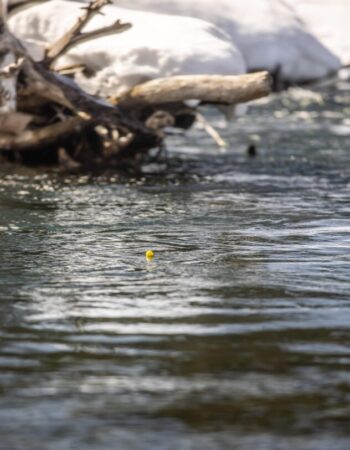
This is a bobber. Great, glad we’re all on the same page. As anglers, we rely on the movement of the bobber to indicate when a change occurs in the drift, telling us when to set the hook. Sometimes the change can be as subtle as a quick pause or submersion in the water; other times, a full fledged nose-dive signifies the strike. Alternative suspension devices like yarn, pinch-ons, and dry flies share the same principles.
While bobbers, or indicators as us snooty fly anglers prefer, and suspension devices provide many benefits (most notably an easy visual reference) when compared with euro nymphing it’s clear that those benefits are far overshadowed by the downsides. Below we list and explain the disadvantages to indicator/suspension fishing and the ways euro nymphing solves these problems. Read on and you’ll quickly gain a precise and logical understanding of why the euro technique is so darn effective.
Disadvantage #1: Water disturbance
This downside doesn’t require much explanation. Simply drop an indicator at your feet. It makes a splash and the larger the indicator, the larger the splash. Why is this an issue? Because fish, especially spooky, smart fish, react when something unexpected happens and not the way you want them to. They are far less likely to actually eat a fly during a state of heightened alertness.
Disadvantage #2: The color
How many pink, yellow, orange, or red globes have you seen floating down the water? None aside from your indicator right? Well, that goes for the fish as well. Similar to the water disturbance (see above), trout respond negatively to surprises, perceiving all to be potential threats. An obnoxious unnatural-colored thing floating over them is not ideal. Fish in highly pressured waters will come to associate indicators with bad sequences of events, making them less likely to eat.
Naturally, there are expectations to this rule as trout will occasionally attempt to eat an indicator and, after all, trout eat attractor flies which certainly don’t imitate any natural insects! However, this is an outlier situation and typically only occurs during spawning periods when trout are feeding on brightly colored trout eggs.
Disadvantage #3: Depth adjustment
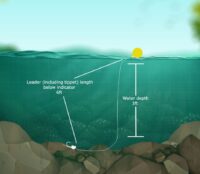
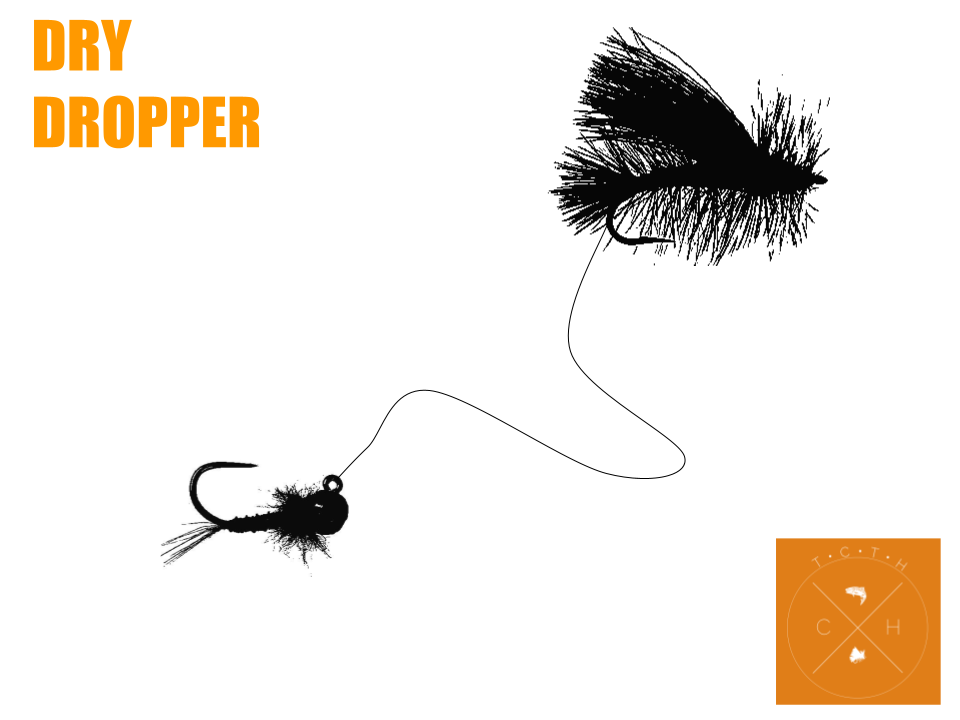
Whether you’re fishing a thingamabobber, a pinch on indicator, a yarn indicator, or a dry-dropper, the only way to adjust the depth of the nymph is by manually doing so. For a thingamabobber, you may need to unscrew the cap to move it up or down, or pull the line out from the hole, adjust the length, then re-loop it. With a pinch on, you need to pull off the indicator altogether and add a new one, or slide the indicator along the leader and add a second one. (Once you move a pinch-on indicator it loses its adhesiveness and will slide down the line unless otherwise supported by a fresh one). Most annoying of all is the dry-dropper. Shortening the length of the dry-dropper is relatively easy because you “simply” clip off excess tippet and re-tie the nymph. However, lengthening the distance between the dry fly and dropper requires a fresh piece of tippet and two additional knots. Needless to say, a lot of valuable fishing time is lost by readjusting depth. Some anglers, myself included, occasionally decide to fish a 4 foot dropper in 2 feet of water. While fish can certainly be caught in this instance, you can bet that numerous strikes go entirely unnoticed because the depth of the tippet is far greater than the water depth.
Disadvantage #4: Tangles
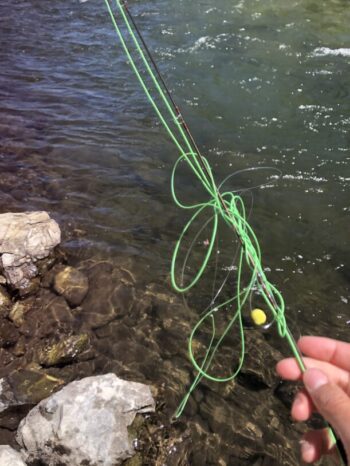
Combine an indicator, large dry fly, multiple nymphs, and possibly split shot, you have a recipe for a tangled disaster. Even for the best casters, this jumbled mess of gear is bound to tangle. The weight of the indicator distribution often causes the line to kink and turnover awkwardly. For beginners who frequently cast tailing loops, they will be spending more time on the river untangling and retying than actually fishing.
Disadvantage #5: Drift Dilemma
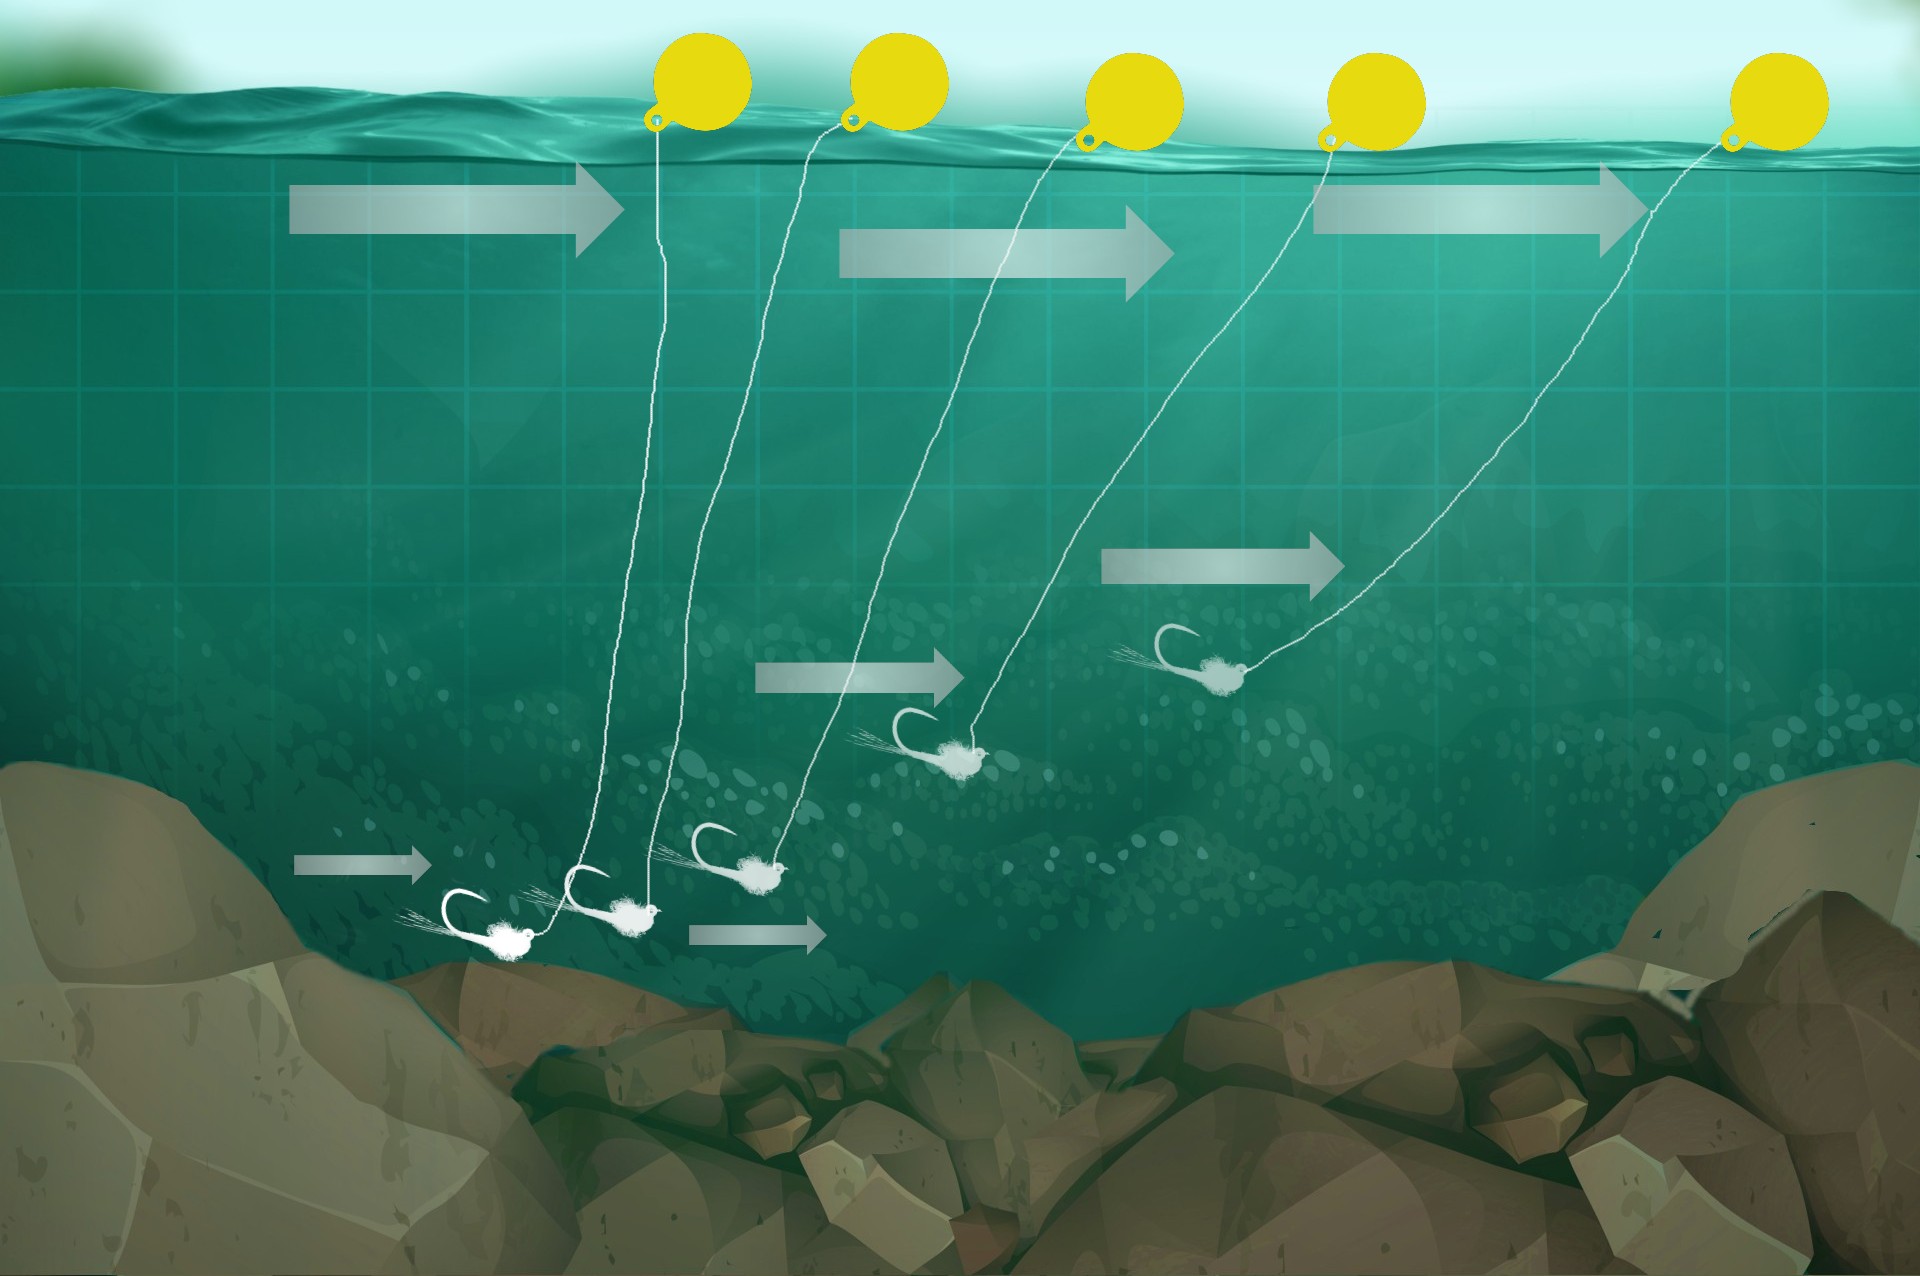
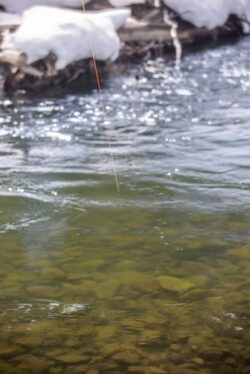
In most scenarios, the suspension setup results in a bad drift. Before we get into the indicator-drift relationship, let’s first examine the qualifications for a good drift. At the high level, a proper drift simply means the flies are moving (drifting) at the natural pace of the current (streamer fishing excluded). In most instances, having flies flow at the current speed of the water is ideal. When this fails to occur, a phenomenon known as drag happens. The images below show you the difference between a good drift and a poor drift.
Why is drag bad? Well, because an insect floating on the water, or a nymph tumbling through the current, does not resemble a fly with drag. So, when a poor drift creates drag, the fly no longer looks natural to the fish. Drag is readily apparent with dry flies, but what does this mean for submerged nymphs? Nymphs sink in the water, so how are we supposed to know if they are dragging? Well, prior to euro-nymphing, the visual cue we relied on was a suspension device of a dry fly, an indicator, yarn, foam pinch-on, etc. This leads to the most significant disadvantage of indicator fishing: we cannot discern whether the nymphs are dragging based upon the movement of the suspension device. In other words, even though the suspension device may be floating drag-free, that does not necessarily mean all is well below the surface water. To understand this counterintuitive situation, we need to explore hydraulic properties. Don’t worry, it’s not as complicated as those fancy words make it sound.
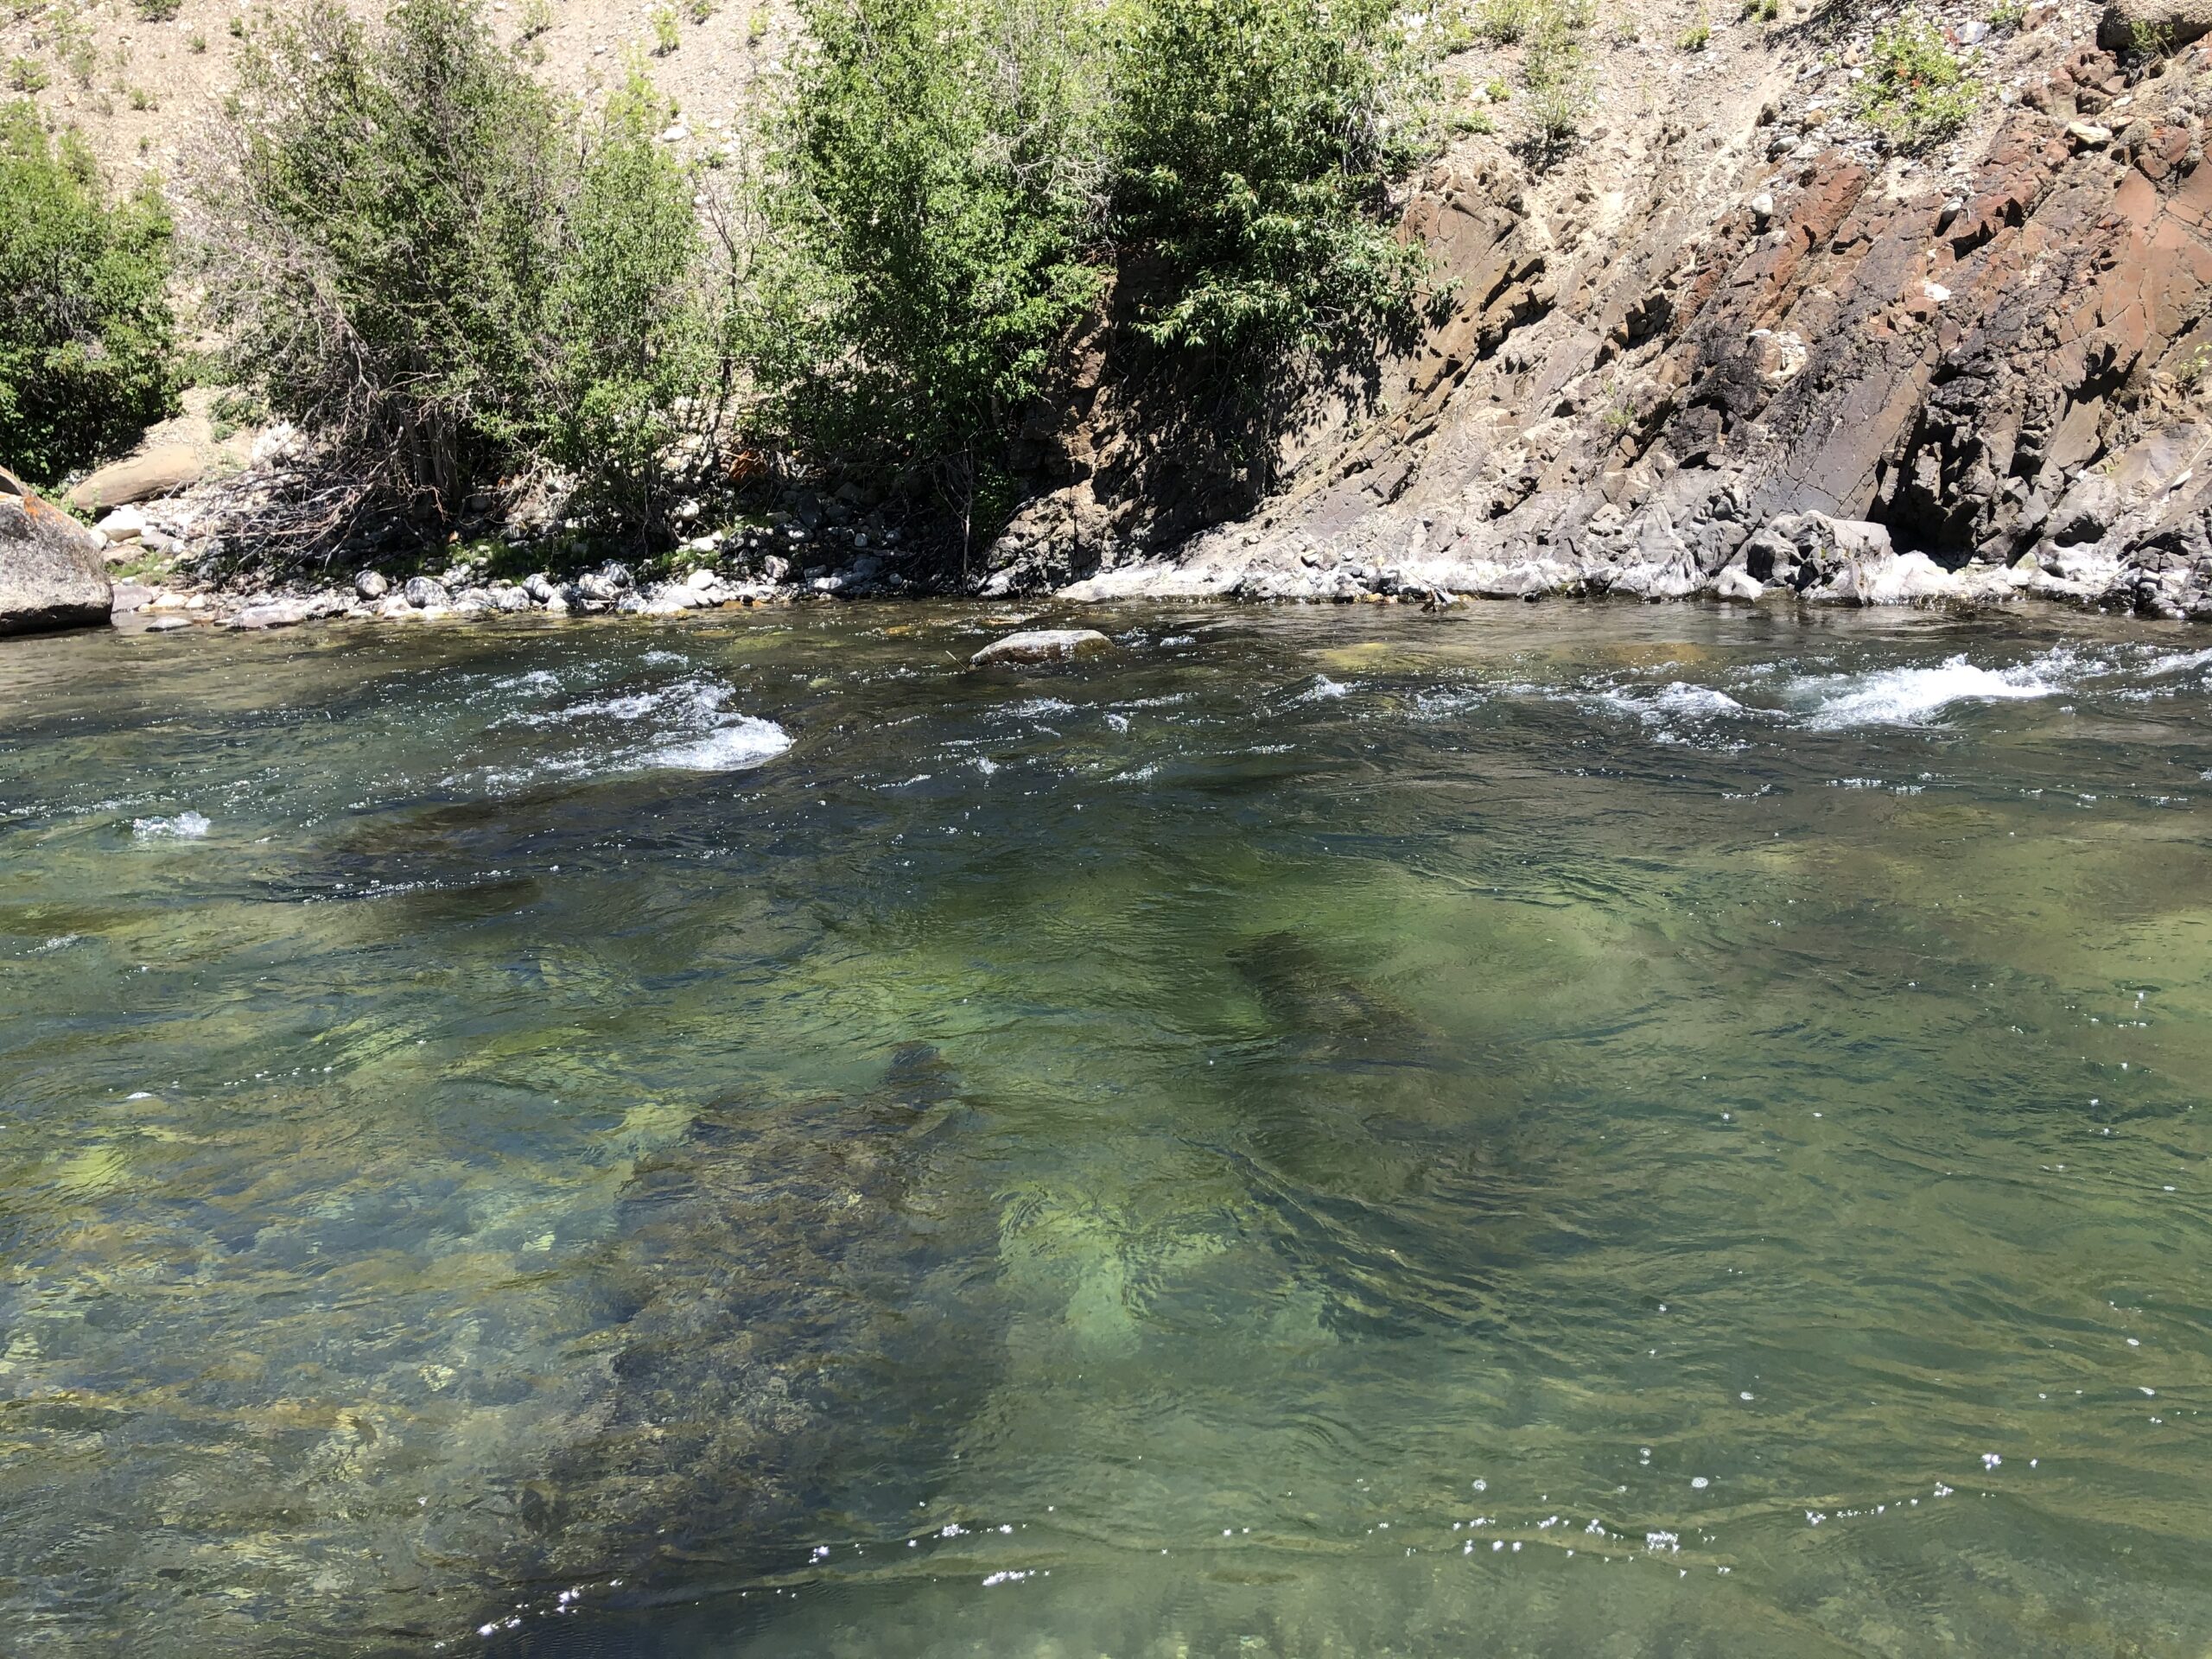
Keep this in mind, every time you fish, the speed of the current on the river bottom can be anywhere from 2x to 8x slower than the surface current. Have you ever stood behind a large rock in a river? The current feels stationary despite the fast water churning on the surface. This is the phenomenon of varying current speeds. Even though the water appears to be traveling fast, in reality, the farther you travel from the surface, the slower the water will become. Fast water needs to fill the void below the surface.
Most critical, fish position themselves in the slower water. This way they can expend less energy while waiting to dart-out into the fast water when a meal floats by. In shallower water, like riffles or tailouts, the variance in speed of the top and bottom current is dramatically less because there is less area the water needs to fill. However, most of the water types you’ll likely fish, troughs, pools, buckets, eddies, and pockets, are deep and/or have structures in front of them, so current speeds will vary drastically.
What does this all mean relative to indicator fishing? This scenario should clarify everything: let’s say you’re indicator fishing a bucket and the speed of the top current is 5x and the speed of the river bottom is 1x. By the time your nymphs sink, the indicator has moved 5x faster downstream, resulting in drag. Drag is the consequence of an indicator and nymph traveling at totally different speeds. As the indicator moves downstream ahead of your nymphs, it will tug them up and away from the fish feeding lane! Sure you can attempt to counter the speed differential by constantly mending your indicator above the nymphs, but doing so will typically move the flies higher in the current, requiring another sink-impeding strike sensitivity.
In addition to the drag produced by the indicator, the more fly line/tippet you have out beyond the rod tip, the more surface volume there is for the current to take hold and create drag. Next time you’re on the water, cast 10 feet of line upstream (without any mends) and watch the dry fly or indicator float back towards you. Next casts 20 feet of line, then 30 feet, and so on. You’ll start to notice that the more line you have out, the more drag produced.
As you can see, drag is bad because it moves the flies unnaturally, removes the flies from the layer of the river where trout feed, and results in a surprise. What do trout hate? Surprises. Indicator nymphing creates more drag in all situations which is a fundamental problem to this style of fishing when compared to euro nymphing.
Disadvantage #6: Fishable Water
With the exception of long runs, pools, and dropoffs indicator fishing is tough in all other water types. As discussed above, many of these other water types—bankside lies, pockets, troughs, etc—all feature faster moving currents at the top of the water column. Using a suspension device in these types of conditions rarely allows for proper presentation. In addition, the nature of the suspension rig requires a fly line to be on the water, making a proper drift far more difficult. Unless you are fishing very short distances and able to high stick, the current will inevitably grab the line, creating drag and shortening the drift.
Disadvantage #7: Line Control
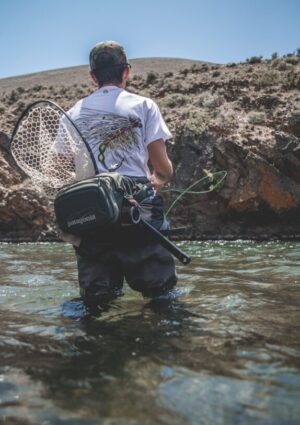
For the better or worse, usually for the worse, when fishing an indicator you’re typically at the mercy of the current. The current is in the driver’s seat and you, the angler, are thrown in the backseat. Sure, mending gives you some degree of control, but other than that, the speed of the drift, the angle, and the flies’ depth is subordinate to the prevailing currents. Why do all the mending and line management when there is a simpler and more effective way to nymph?
THE EURO SOLUTION
So we learned that trout don’t like unnatural surprises and indicators result in many unwanted surprises to trout and the way they interact with our flies and fishing. Let’s examine the ways in which euro nymphing solves, or even removes, the disadvantages of suspension rigs.
The problem: Water disturbance
The euro-solution: No indicator
It’s time to take those training wheels off that you never needed in the first place. Yes, you read correctly. There are no indicators in euro nymphing! The euro nymph rig uses a piece of colored monofilament tippet called a “sighter” that helps us regulate depth, track movement, and see our line easier (more on this in Lesson 2). Without an indicator, drag, color, and all the indicator issues go away. It may feel odd at first without those training wheels, but after about 3 fish, you’ll get a feel and never look back.
The problem: Frequent tangles
The euro-solution: Streamlined setup
Forget about the clunky dry fly or bulky indicator! The euro nymph setup is void of such a middle-man. There’s nothing between the flies and the leader, so you have a simple rig that doesn’t tangle easily. Furthermore, the actual euro nymph cast (see Lesson 4) reduces the margin for a casting error since it’s more direct and features fewer motions than false casting.
The problem: Color of indicator spooking fish
The euro-solution: Keep the ‘sighter’ off the water
Sure the sighter line has some bright colors, but they are barely visible to trout in the water and most times, you keep the sighter above and out of the water making it effectively invisible to trout.
The problem: Constantly adjusting the depth of the indicator/suspension device
The euro-solution: No fixed tippet depth. Simply lift the rod up or down depending on where you want the flies to be in the water column.
One of the many beauties of Euro nymphing is its adaptable nature. Bobberless nymphing means we can fish any depth of the water column without having to manually readjust the indicator. Just picture it- You’re fishing an eighteen inch trough, then you want to fish a four foot bucket right next to it, the only adjustment required is to move the rod tip up or down. In this scenario, you lower the rod tip to fish deep water or feed a little more line out depending on the nymph’s sink rate. It gets even better when you’re ready to fish the next section of the river. Most of the time, we get lazy and fish the same type of water that fits our rig, even if we think we are walking over fish in the riffles or pocket water we aren’t set up to fish. With euro nymphing, drop your flies right in any piece of fishy-looking water and lift your rod up or down accordingly to set the depth of your rig. This alone can equate to dozens of more fish caught in a day and often, larger, less-pressured fish as well.
The problem: Nymphs moving at a faster rate than the current
The euro-solution: Eliminate ALL unnecessary surface volume (i.e. the suspension device) by high sticking.
While this will be discussed more in Lesson 2, Selecting gear and rigging, recall the euro nymph technique is free from any suspension device. This means that the only surface volume the water can take hold of is the tippet. This results in the least amount of drag physically possible. Those nymphs will get down fast, and stay down where fish will eat them readily. When you combine this with a technique called high sticking (more on this later), you will see and feel the difference quickly.

(Advanced note)
When fishing turbulent water with a suspension rig we typically resort to a technique called high sticking. By high sticking keeping as much line of the water as possible—we prevent the line from getting caught in the current, a way to reduce surface drag. You may be familiar with the concept of high sticking or routinely use it. High sticking with a euro nymph and high sticking with a suspension device is identical in approach and vary in regards to their efficacy, due to the leader composition. By the point 10+ feet of fly line is out to the dry rod tip, the line will begin to sag when high stuck (sag is a curve the line makes when weighed down by gravity). However, the euro setup uses 20 feet of thin leader, which is far lighter in mass and thinner in diameter than the dry fly line, making it sag-free. This allows you to high stick at a distance free from sag. Even when the fly line is past the rod tip, the diameter and mass of the euro line are far thinner than the dry line, reducing the level of sag.
The problem: Less fishable water
The euro-solution: A combination of all solutions above
Euro nymphing = more fishable water. This is one equation you should remember. In the end, all water is fair game with the euro nymph rig. Due to the drag prevention, streamlined setup, and stealth presentation, dozens of water types once unfishable are miraculously made easily available. As you experiment with the euro technique, you will begin to see the river in a whole new light, looking beyond pools and dropoffs towards hydraulic cushions, micro eddies and beyond.
The Problem: Line Control—Being at the mercy of the current
The euro-solution: Eliminate the indicator and remove line from the water
As you make your way through this course and begin euro nymphing, you’ll recognize that this technique offers complete control on the river: you’re in the driver’s seat. You can effortlessly adjust the speed of the drift, be far more precise with the cast, and fish the narrowest slivers of pockets and seams. Lastly, the depth can be adjusted in action—during the drift. (just think about that for a moment) It’s a powerful tool to fish a shelf into a drop off and be able to let your flies go deep off the drop off, then as the river gets shallow again, slowly raise your rod to match the depth and find every, single, trout in that hole.
3 ADDITIONAL BENEFITS OF EURO NYMPHING
We addressed the problems with indicators, but let’s go beyond the bobber now and discuss some additional benefits to euro nymphing once you’ve tossed the tangled mess of indicators aside.
Better, More Accurate Casts
A key benefit that we’ll discuss in more detail later, is that you can make better and more accurate casts with a euro nymph rig. You’re using less line and making shorter casts. This gives you the ability to improve accuracy and get more casts in throughout the day. The more time your fly spends where it should be (accurate and in the water) the more fish you will catch.
The reverse is true as well. Making a long, inaccurate cast means you have a long, inaccurate drift. With short euro casts, making a mistake is quickly resolved but just casting again.
Hook Sets are Free
With a strike indicator, a hook set creates quite the noise and commotion as it makes that dreaded, “BLOOP!” noise that sends fish swimming. With a euro nymph set up, setting the hook means no noise. I’ve set the hook right on top of fish before (thinking they ate and didn’t) and it didn’t spook the fish. I have done the same with an indicator on and let’s just say, I didn’t see that fish again all day.
Miss Less Eats
You’ll be amazed how many more eats you can detect without an indicator. This sounds backwards, but when you maintain a constant feel with your flies, you can feel everything and see even the slightest hesitations in your sighter line. This means more hooksets and more hookups throughout the day.
Lesson 1 CONCLUSION
Are you convinced? Excellent! It is now time to dive into the meat of the course so you can learn how to harness the powers of this technique and become a maverick angler that has control over the river and the trout in it. Continue onto Lesson 2 by purchasing the rest of the course through the button below. If you need more info on the course, scroll down and learn!
Coupon Code: EURODEAL
Euro Nymphing Course
Catch More Fish Than You Thought Possible
Lifetime Access: $199 | Your Price: $99 (50% Off)
Fully Online | Self Paced | Lifetime Access
7 Lessons | 90+ Pages | 20 Videos | Pics | Diagrams & More
What You’ll Get In This Course
- 7 Lessons that teach the entire euro nymph technique
- Perfect for beginner to intermediate skill levels
- Catch more fish than ever thought possible
- Get unlimited access, take as many times as you want
- Get three, 50% off coupons for our euro nymph assortments or other courses
- Guaranteed to make you a better angler or your money back
- Access through our app for offline reading
Lifetime Access: $199
Your Price: $99
Coupon Code: EURODEAL
Lesson 1
Length: 13 Pages + Videos

The Benefits of Euro Nymphing
The first step in understanding a new technique is to learn why it is so effective, and why using a strike indicator is really hurting your ability to catch more fish.
We cover the 7 disadvantages of indicator nymphing and then describe why euro nymphing solves these so elegantly. We lastly address common problems encountered while fishing and how euro nymphing turns them into advantages.
Save 50% Off (Your Price: $99)
All Thing Euro Gear
In this lesson, we discuss the wide array of euro nymphing gear to help you understand what new gear you need, and the benefits that this gear brings.
We also provide a priority checklist that helps you with the essential gear, and utilizing your existing gear.
You Also Get 50% Off All Euro Nymph Assortments
Lesson 2
Length: 20 Pages + Videos

Lesson 3
Length: 10 Pages + Videos

Learn the Top Euro Casting Techniques
Casting is remarkably different with euro nymphing. We will be covering all the top 4 euro cast techniques as well as discuss the concepts behind the casts to help you make successful and accurate casts. We include instructional videos on these top 4 casts to really help you learn these techniques.
Take Course Unlimited Times
Online Via Any Device or Offline Through Our App
The Drift
You cast for show, but you drift for dough…errr trout.
In this lesson, we provide written and video instruction as well as a ton of images to teach you the 3 essential drift techniques when euro nymphing. With these techniques you will have complete control over your nymphs in the river allowing you to catch even more fish than you ever thought possible.
Get Direct Q&A With Course Author
Lesson 4
Length: 17 Pages + Videos

Lesson 5
Length: 10 Pages + Videos
Hacking the Learning Curve
Lessons 1 – 4 teach you waht you need to know, but lesson 5 simplifies and streamlines the process allowing you to learn faster. We discuss the most common struggles with euro nymphing and show you how to resolve them
Usually $199 | Your Price: $99 (Lifetime Access)
FLY SELECTION
While we could do an entire course along on this topic (oh wait we did), we go over all the top patterns and their composition to understand why flies are so effective.
We’ll also cover what to do when you’re not catching fish and strategic adjustments throughout the day based on euro nymph knowledge.
Click the Button to Start
Or Use Coupon Code: “EURODEAL” at checkout
Lesson 6
Length: 18 Pages + Videos
Lesson 7
Length: Ongoing Pages + Videos

Ongoing Tips and Tricks Section
This technique is always progressing, so we dedicated an entire lesson on tips and tricks to improve. This will get updated all the time with additional questions answered and tips provided. Check back often on here and ask questions to get them answered and added to this lesson
Catch More Fish Than Ever Thought Possible
What’s Holding You Back?
This course will teach you the most effective way to catch trout that has ever been invented. We are genuinely excited to teach you this amazing new skill and look forward to having you in our community!
The Catch and The Hatch © 2022 | View Our Privacy Policy Here

